Managing Community Rejected Requests
Navigation Path:
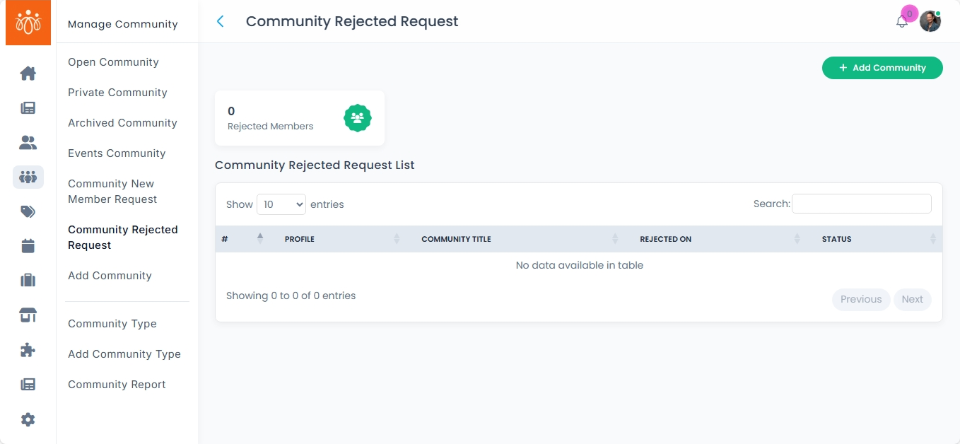
Community → Community Rejected Requests
Overview:
The Community Rejected Requests section lists users whose requests to join communities have been denied by administrators. This feature allows admins to keep track of declined requests and offers the option to manually reinvite users if appropriate.
When to Use:
-
You want to review users who were declined access to specific communities.
-
You need to reconsider and possibly reinvite users whose join requests were previously rejected.
-
You want to maintain transparency and control over community membership management.
Steps to Manage Rejected Requests:
-
Access Rejected Requests
Navigate to Community Rejected Requests under the Community menu to see a list of users whose join requests have been denied. -
Review User Details
Click on a user’s name to view details of their join request and the reasons for rejection if available. -
Reinvite a User
If you decide to grant access, select the user and click the Reinvite option to send a new invitation to join the community.
Best Practices:
-
Regularly monitor rejected requests to reconsider users who may now be appropriate for community membership.
-
Communicate clearly with users if you choose to reinvite them, explaining any changes in membership criteria.
-
Document reasons for rejection and reinvitation to maintain transparent community governance.
Tip:
Use this feature to balance community inclusivity with security and relevance by carefully managing membership requests and reconsiderations.Managing Your Profile Details
Navigation Path:
Profile → My Profile
Overview:
The My Profile section allows individual administrators to view and update their personal account information, including name, mobile number, email ID, and profile picture. Keeping your profile details current helps ensure accurate communication, identification, and personalized interaction within the platform.
When to Use:
-
You have changes to your name, mobile number, or email address.
-
You want to update your profile picture for better recognition.
-
You want to ensure your contact details are accurate and up to date for notifications and account recovery.
Steps to Manage Your Profile Details:
-
Access My Profile
Click your profile avatar or name at the top-right corner of the admin dashboard.
Select My Profile from the dropdown menu. -
View and Edit Profile Information
Review your personal details such as Name, Mobile Number, Email ID, and Profile Picture.
Click into any field you wish to update and enter the new information. -
Update Profile Picture
Click on your current profile picture or the edit icon.
Upload a new image from your device and adjust it if prompted. -
Save Your Changes
Click Update or Save Changes to confirm the updates.
A confirmation message will appear to indicate that your profile has been successfully updated.
Best Practices:
-
Provide accurate and up-to-date contact information to ensure smooth communication and account security.
-
Use a clear, professional photo to facilitate recognition among colleagues.
-
Avoid sharing sensitive or unnecessary information in your profile fields.
Tip:
Regularly review and update your profile to maintain accurate and current information that enhances your platform experience.