Managing and Adding Images to the Gallery
Navigation Path:Content → Image Gallery
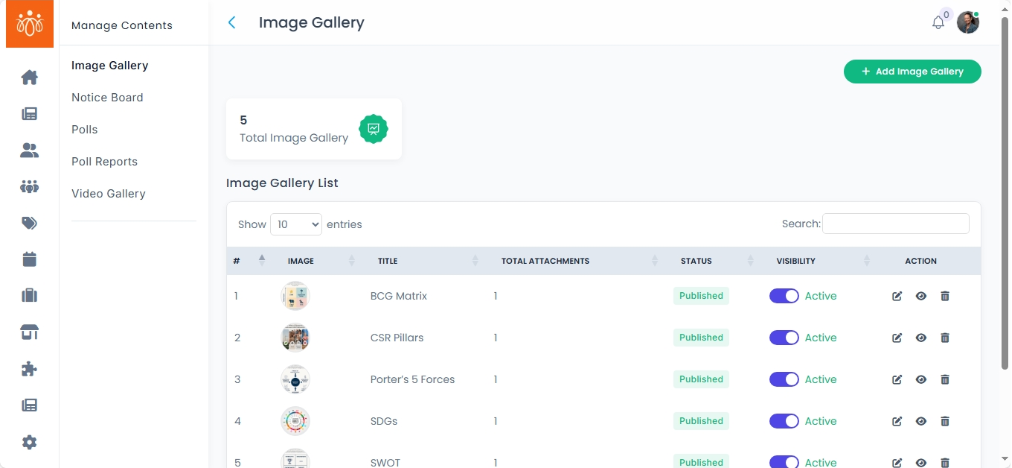
Overview:
The Image Gallery section stores all images uploaded to the platform. Each image can have a title, description. This feature is useful for event highlights, promotional material, and community-specific visual content.
When to Use:
-
Uploading images from events, workshops, or activities.
-
Sharing promotional visuals or branded graphics.
-
Organizing images by community for targeted visibility.
Viewing Existing Images:
-
Navigate to Content → Image Gallery.
-
Review the list of uploaded images, each showing:
-
Title – Name of the image or event.
-
Caption/Description – Additional context about the image.
-
Adding a New Image:
-
Click Add Image Gallery Form.
-
Complete the following details:
-
Upload Image – Choose a high-quality file (JPG, PNG recommended).
-
Title – Short, descriptive name for the image.
-
Description – Additional information or context for the image.
-
SEO optimization – Optionally add a title, description and keywords.
-
-
Click Save to publish the image.
Best Practices:
-
Use clear, high-resolution images for better presentation.
-
Keep titles descriptive to make searching easier.
-
Assign images to relevant communities to ensure they appear in the right sections.
-
Regularly remove outdated images to keep the gallery fresh.