Managing and Creating Notices
Navigation Path:Content → Noticeboard
Overview:
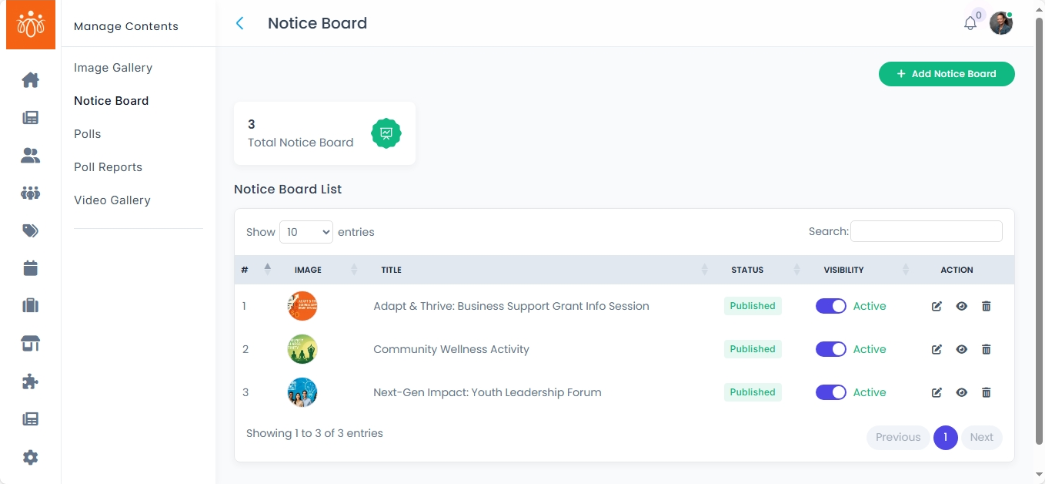
The Noticeboard section displays all published notices that are visible to members. Notices are typically used for important announcements, updates, or reminders and are often pinned at the top of community or member feeds for maximum visibility.
When to Use:
-
Sharing critical updates (e.g., policy changes, event announcements).
-
Posting reminders for upcoming deadlines or activities.
-
Highlighting community news or achievements.
Viewing Published Notices:
-
Navigate to Content → Noticeboard.
-
Review the list of all active notices, which display:
-
Title – Summary of the notice.
-
Status - Indicates whether the notice is Published or Unpublished.
-
Visibility - Shows whether the notice is visible (Active) or hidden (Inactive) to members.
-
Creating a New Notice:
-
Click Add Noticeboard Form.
-
Fill in the following details:
-
Title – A concise headline summarizing the notice.
-
Description – The main body text of the notice, outlining details clearly.
-
Image or Attachment – Optionally upload an image (e.g., poster) or document (e.g., PDF).
-
-
Click Save to publish the notice.
-
Published notices are typically pinned at the top of the relevant feed to ensure members see them immediately.
-
Best Practices:
-
Keep titles short but descriptive to grab attention quickly.
-
Include relevant visuals or attachments for clarity.
-
Update or remove expired notices to keep the noticeboard relevant.
-
Use notices for important or time-sensitive information rather than casual updates (those can go in regular feeds).