Managing and Assigning Member Badges
Navigation Path:Members → Badges
Overview:
The Badges section allows admins to manage recognition and achievement markers for members. Badges can be used to highlight member status, accomplishments, participation levels, or special roles within the platform. Each badge has a name, icon, and description that explains its purpose.
When to Use:
-
Recognizing active or high-contributing members.
-
Awarding event participation, training completion, or milestone achievements.
-
Assigning special designations like “Premium Member” or “Founding Member.”
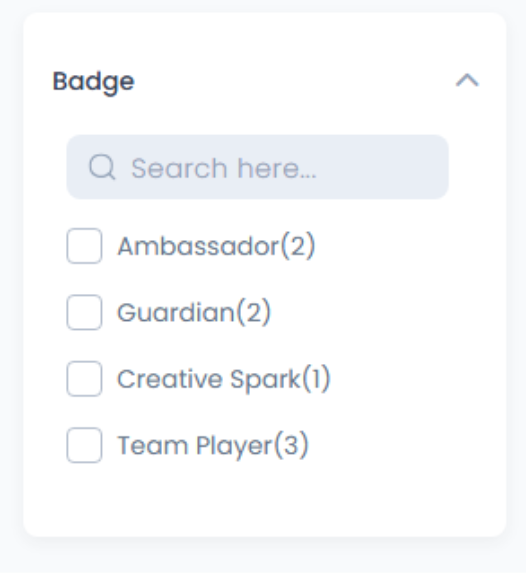
Viewing Available Badges:
-
Navigate to Members → Badges.
-
Review the list of all existing badges along with their descriptions and, if applicable, icons or images.
-
Confirm that the badge is appropriate for the recognition you wish to assign.
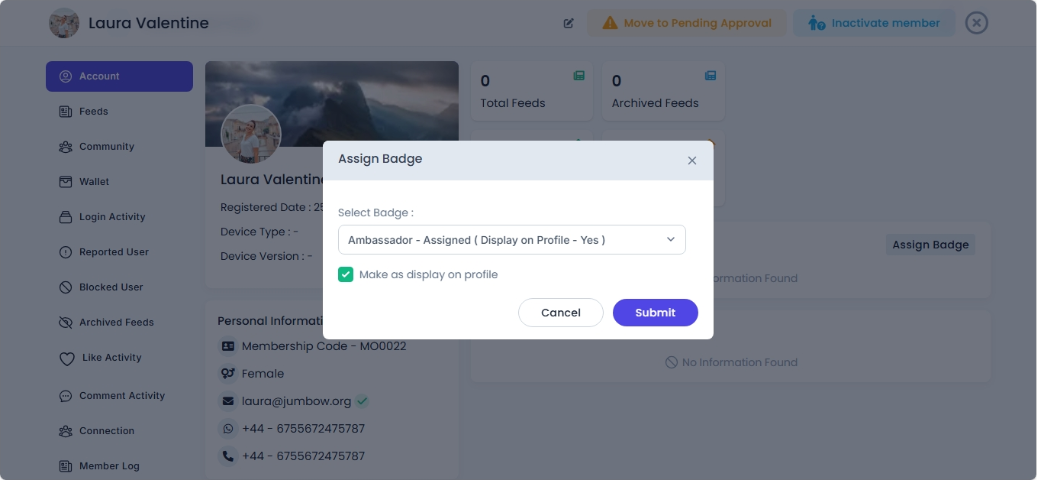
Assigning a Badge to a Member:
-
Navigate to Members → View Member.
-
Locate the member you wish to recognize and open their profile.
-
Click Assign Badge.
-
Select the desired badge from the dropdown or list.
-
Click Save to complete the assignment.
-
The badge will now appear on the member’s profile and may be visible in public listings depending on platform settings.
Best Practices:
-
Use badges consistently to maintain fairness and transparency.
-
Keep badge descriptions clear so members understand their significance.
-
Periodically review and update badges to align with community goals and recognition programs.
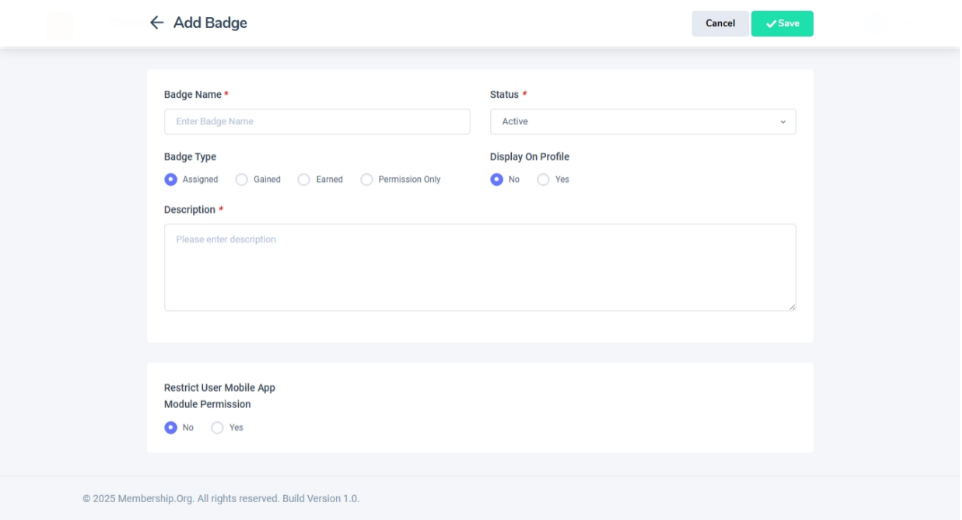
To create new badges: Go to Settings → Badge → Add Badge Form