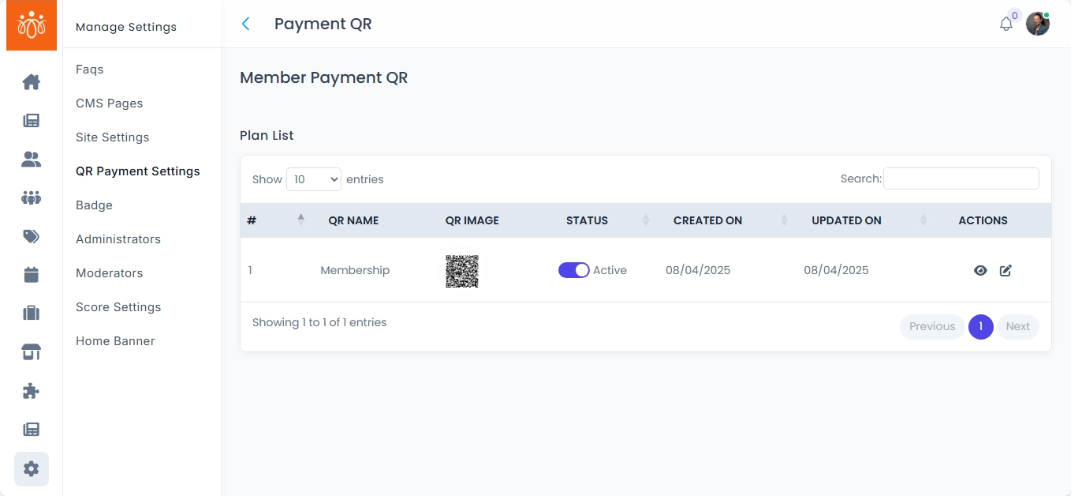
Configuring QR Payment Settings
Navigation Path:Settings → QR Payment Settings
Overview:
The QR Payment Settings section allows admins to upload the organization’s official UPI QR code for collecting payments related to membership registrations, renewals, or other paid services. Once uploaded, this QR code is automatically displayed on the frontend in all payment-enabled areas of the platform, ensuring a smooth and consistent payment process for members.
When to Use:
-
Setting up payment collection for the first time.
-
Updating the QR code when changing bank accounts or UPI IDs.
-
Ensuring members have an easy way to complete payments through the app or web interface.
Steps to Configure QR Payment Settings:
-
Access the QR Payment Settings Page
-
Navigate to Settings → QR Payment Settings in the admin dashboard.
-
-
Upload Your Official QR Code
-
Click the Upload button.
-
Select a clear, high-resolution QR code image linked to your organization’s UPI account.
-
Supported formats: PNG, JPG, or JPEG.
-
-
Save Changes
-
Click Save to activate the uploaded QR code.
-
The QR code will now appear wherever payments are required on the frontend (e.g., during membership sign-up, renewals).
-
Best Practices:
-
Ensure the QR code is tested before uploading to verify a successful payment receipt.
-
Replace the QR immediately if your UPI account changes to avoid failed transactions.
-
Use an official, organization-verified UPI ID to maintain trust with members.